Tool Search: Code Defining
This mapping tool allows you to map local Relationship Types to codes in the state-defined code list. The codes in the state-defined code list are automatically provided by Campus. The mapping that you create can be copied from one year to another year.
The SIRS: Student Contact Fact extract uses the mapped codes when determining what to report in the Contact Relationship Code column.
See the core Code Defining article for additional information.
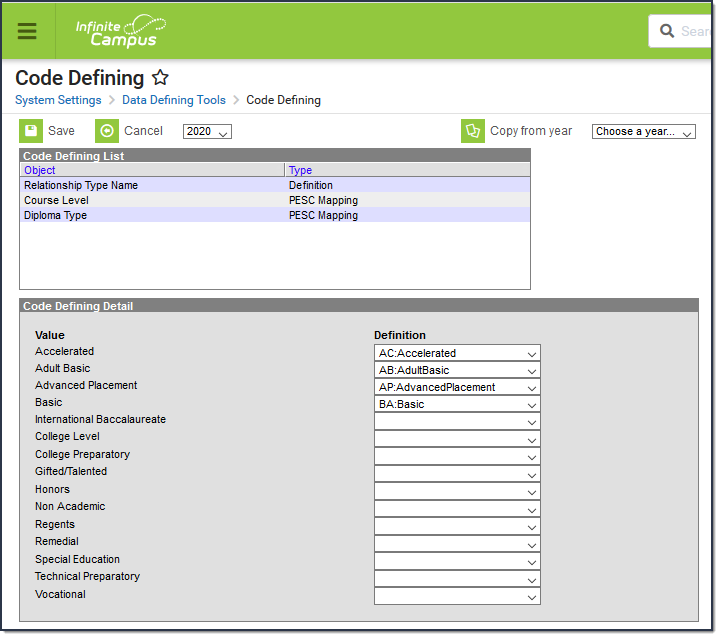 Code Defining Tool
Map Relationship Types to State Codes
- Select the year for which you want to map Relationship Types. This is a dropdown list found in the upper left-hand corner.
- Click the Add Missing Objects button.
Result
A confirmation window displays. - Click OK.
Result
The Relationship Type Name object displays in the Code Defining List editor. - Click Relationship Type Name in the Code Defining List.
Result
The Value and Definition columns display. - Select a state-defined code from the Definition dropdown list for each Relationship Type in the Value column.
- Click Save.
Copy Mapped Values from One Year to Another Year
- Select the year for which you want to map Relationship Types. This is a dropdown list found in the upper left-hand corner.
- Click Relationship Type Name in the Code Defining List.
Result
The Value and Definition columns display. - Select the year from which you to copy. This is a dropdown list found in the upper right-hand corner.
- Click the Copy from year button.
Result
A message window displays confirming you want to continue. - Click OK.
Result
Campus copies and saves the mapped values.
Remove State Codes from Relationship Types
Relationship Types cannot be deleted until the Relationship Type is no longer mapped.
- Select the year for which you want to remove Relationship Type mappings. This is a dropdown list found in the upper left-hand corner.
- Click Relationship Type Name in the Code Defining List.
Result
The Value and Definition columns display. - Select the blank line in the Definition column.
- Click Save.
