Log In
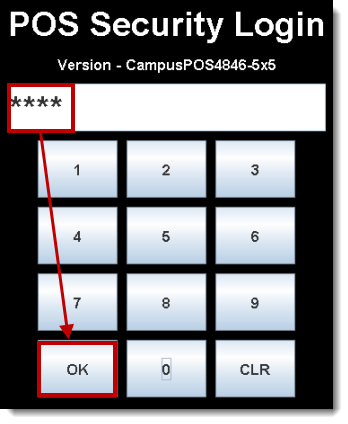
After the terminal has booted, the POS Security Login screen displays. The cashier enters their PIN and selects OK.
Select a Serving Method
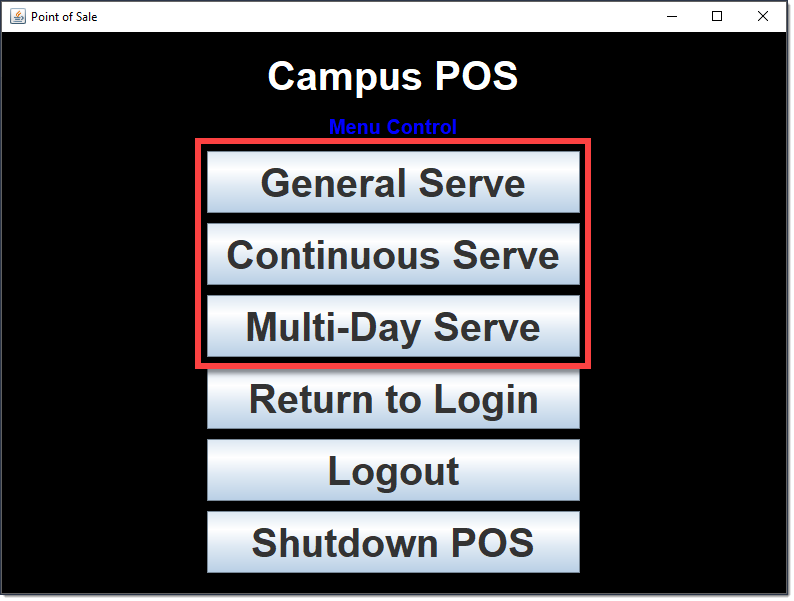
Two methods are available for processing meal transactions. The first cashier of the first serving period in the day should select the serving method.

Method | Description |
|---|---|
Use when several menu options are offered to patrons; e.g., patron has choice of Lunch and/or Ala Carte items. | |
Use when there is only ONE menu option offered to all patrons; e.g., when the Lunch option for all patrons is the same. | |
| Multi-Day Serve | Use when you need to hand out meals for multiple days using a single transaction on the point of sale. |
After a serving method has been selected, the cashier is asked to select a new serving period (when this is the first login of the current day) OR they are prompted to re-open the last cash drawer (if this is NOT the first login of the current day). This prompt only appears when Serving Periods have been enabled on the Admin POS Option menu.
Turn on Audio
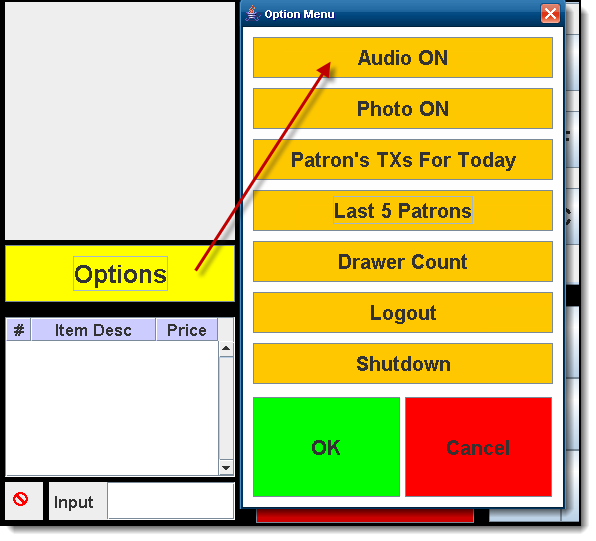
The terminal sound may be turned on or off by selecting the Options menu and Audio On/Off.
Turn on Patron Photos
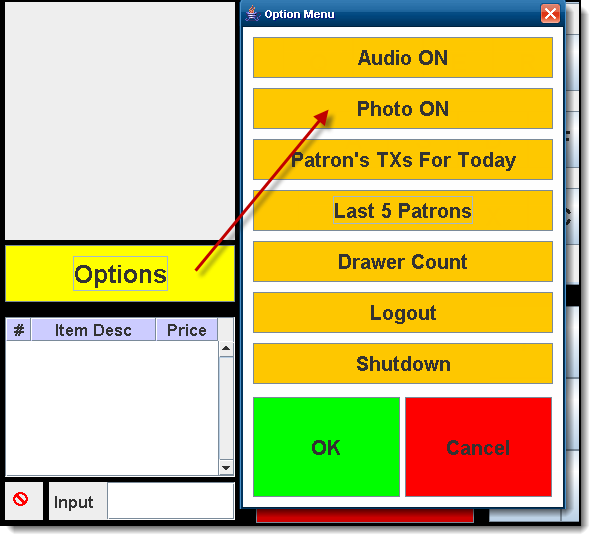
Patron photos may be turned on or off by selecting the Options menu and Photo On/Off.
For a patron’s photo to display, the following requirements must be met:
- The District/School must have uploaded a photo for the patron on his/her Campus account.
- When the terminal was loaded with Campus data, it should have been set to load “All” (which loads patron data and pictures).
If patron pictures were not initially loaded to the terminal, only the Food Service Administrator may do so, with the following steps:- Login using the POS Admin PIN.
- Select Load POS Data from the Admin POS Menu.
- Select Patron Pictures.


